
Motion in a photograph (panning): how to achieve it?
Panning shot, also known as the ‘measuring trigger’
Capturing movement in a photograph is an art in itself. One of the most widely used techniques to do so is the so-called panning shot. This often produces spectacular images of, for example, cars, cyclists or runners with a sharp foreground and a faded background. Below you can read how to achieve this effect, both with the camera and in post-processing.
What is panning?
Panning is a photography technique in which you move your camera along with a moving subject. As the subject moves, you follow it with your camera and press the shutter button with a relatively slow shutter speed. This keeps the subject in focus, while the background is blurred by the movement. This gives a powerful sense of speed and motion.
Settings for a good panning photo
1. Shutter Speed Setting
Use a slower shutter speed, usually between 1/15 and 1/125 second, depending on the speed of the subject. The faster the subject, the shorter the shutter speed may be. For a race car you can work with 1/125, for a walker you are more likely to be at 1/15.
2. Autofocus: tracking
Use autofocus to stay in focus while moving. This helps keep your subject in focus as you move along.
3. Enable continuous shooting
Set your camera to burst mode or continuous shooting. The more images you take during motion, the greater the chance of a perfect moment.
4. Setting ISO
Depending on the light conditions, you will need to adjust the ISO. During the day you can often stay low (ISO 100-400), at dusk you may have to go up.
Proper posture and technique
- Stand firmly: Place your feet shoulder-width apart and rotate your upper body smoothly with the subject.
- Follow fluidly: Move your camera at the same speed as the subject.
- Keep following during printing: Do not print abruptly, but keep following the subject while taking the picture.
- Practice makes perfect: You may miss 90 out of 100, but that one successful photo makes up for everything. The more regular the movement, the easier it is to pan with.
Ideal subjects for panning
- Cars (for example, on a race track)
- Cyclists
- Runners
- Trains
- Skaters or skateboarders
Post-processing: adding additional effect
Even a well-shot panning photo can benefit from some post-processing. Here are a few tips:
1. Sharpen the subject
Use masks to sharpen just the subject slightly. This increases the contrast between the sharp object and the blurred background.
2. Add additional motion blur
In programs such as Photoshop, you can add additional blur to the background via Filter > Blur > Motion Blur, if your original shot does not yet have enough effect.
3. Vignetting or color accents
With subtle vignetting, you lead the eye to the subject. You can also use color accents or color tones (such as warmer light on the subject and cooler background) to enhance the effect.
4. Reduce noise
Slower shutter speeds, especially at higher ISOs, often create noise. In Lightroom or Photoshop, use the noise reduction tools to reduce that.
Common panning mistakes
- Shutter speed too short or too long: If the shutter speed is too short, you won’t get motion blur. If it’s too long, everything gets blurred.
- Camera moves jerkily: Panning requires smooth movement.
- Do not move along during printing: keep following the subject even after you have printed.
- Incorrect focusing method: Single autofocus (AF-S) is not suitable for moving subjects.
Panning in a nutshell
A good panning photo requires a combination of technique, timing and patience. You set your camera to a slower shutter speed, move smoothly with the subject, and preferably shoot several images in a row. In post-processing, you can enhance the effect by making the subject stand out even more. With a lot of practice, you can create impressive photos bursting with movement.
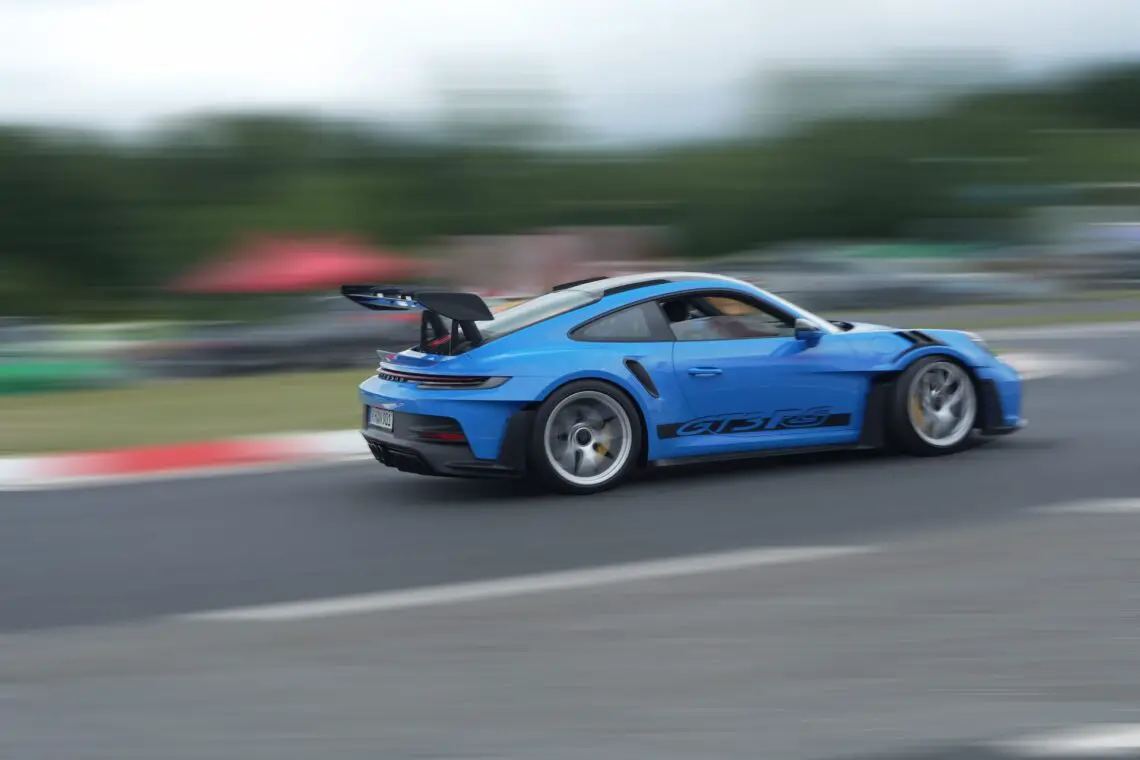
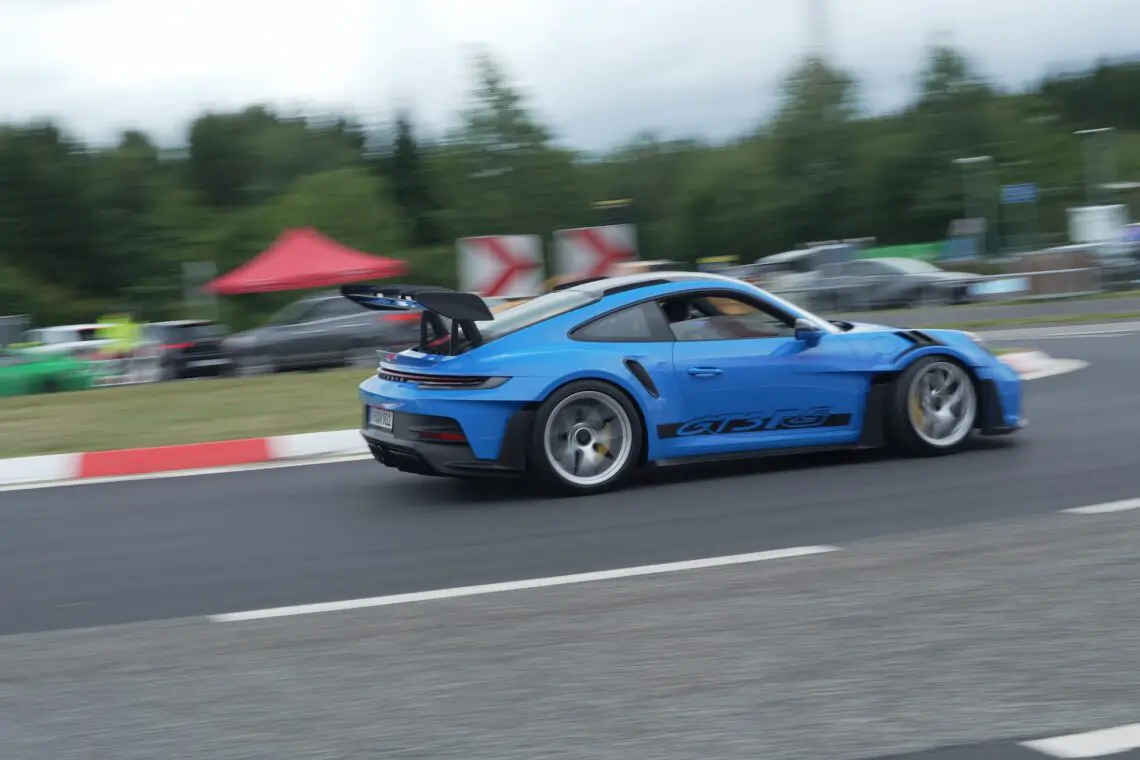
Example Porsche 911 GT3 RS
In the photos below by AutoRAI journalist Bart Oostvogels, you can see that a panning effect has been applied. The first picture is the original photo, straight out of the camera. As you notice, there is already “movement” in the photo around the GT3 RS, but the car is largely in focus. We can enhance this effect, to get even more speed in the photo. But how do you do that?
Original photo
Getting Started
Where should you start? Preferably use a program like Photoshop. First, throw the original photo into Photoshop and duplicate the original layer twice. This will create three layers in Photoshop. Then on the top layer, go around the car with the selection tool so that you have selected the complete car. It is important that the selection remains. Then press delete to remove the car from the layer. Next, click on the second layer and apply “reverse selection” so that Photoshop selects everything but the car. Press delete. You will see that now the complete environment in the layer is removed, but the car remains. Now click again on the top layer (the one with deleted car). In this layer choose Filter > Blur > Motion Blur and add extra blur to the background. You can decide what still looks natural. Et voila, that’s all. You can see the result below.
Edited photo